Pin
I was looking for a Pin design that could be applied to many situations. I wanted to create a sturdy model which can check many boxes.
If you have any improvements you can always let me know!
I added magnets (not mandatory)
The magnets that I used where 4.20 x 1.60 mm
On the right side you can find the STL. files that we will be creating together in the documentation below. 1st the Hole 2nd the Pin and finally a negative STL. that can be used in the slicer to subtract from existing models to create a fast Pin-Hole.
Work-Mat
Finish your 3D prints off in style, while protecting your table from Glue etc.


Documentation
Base Design
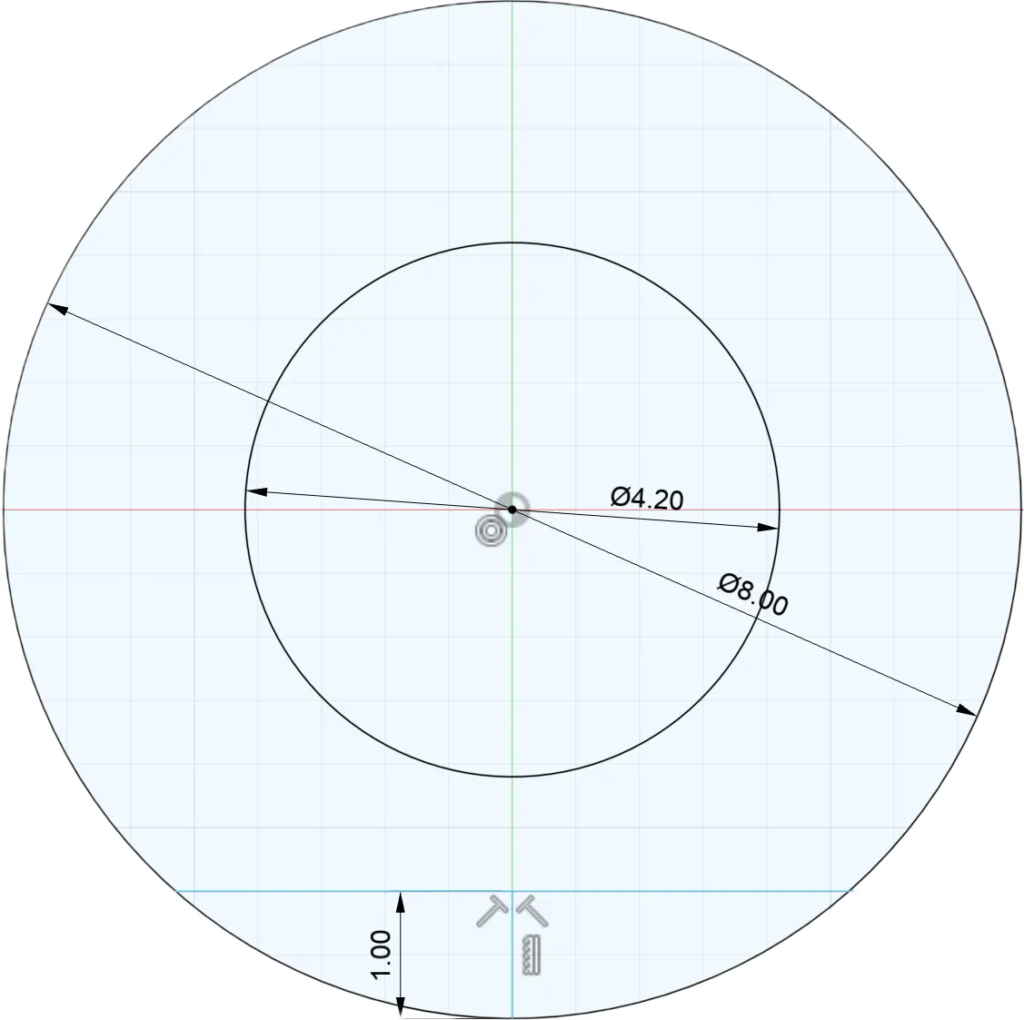
8 mm Circle
4.2 mm Hole – (0.2 mm as tolerance)
1 mm “Bottom” for the pin to enable flat printing
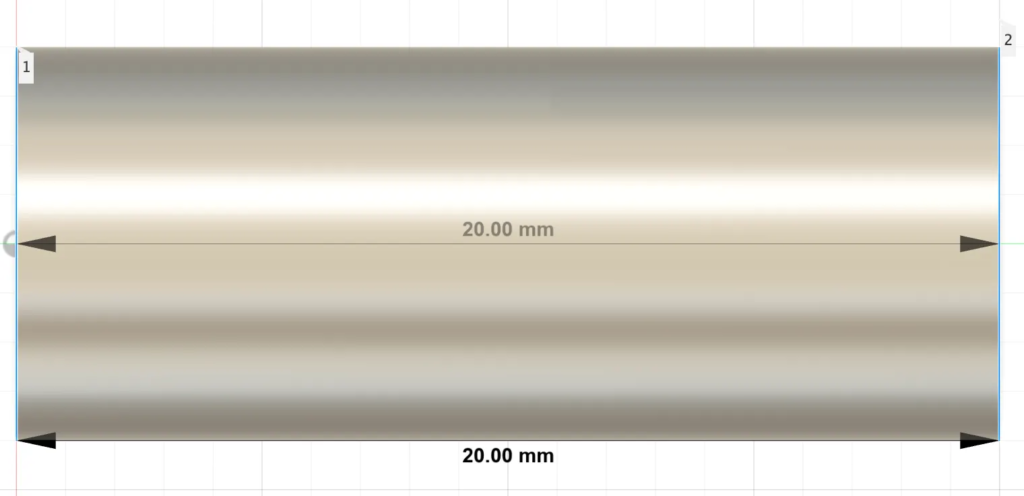
Extrude
20 mm Extrude
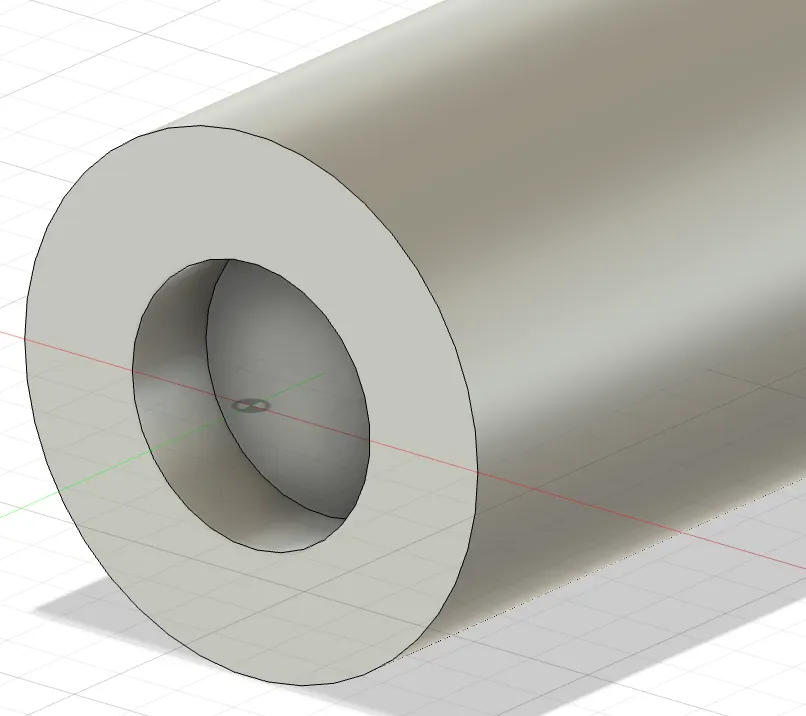
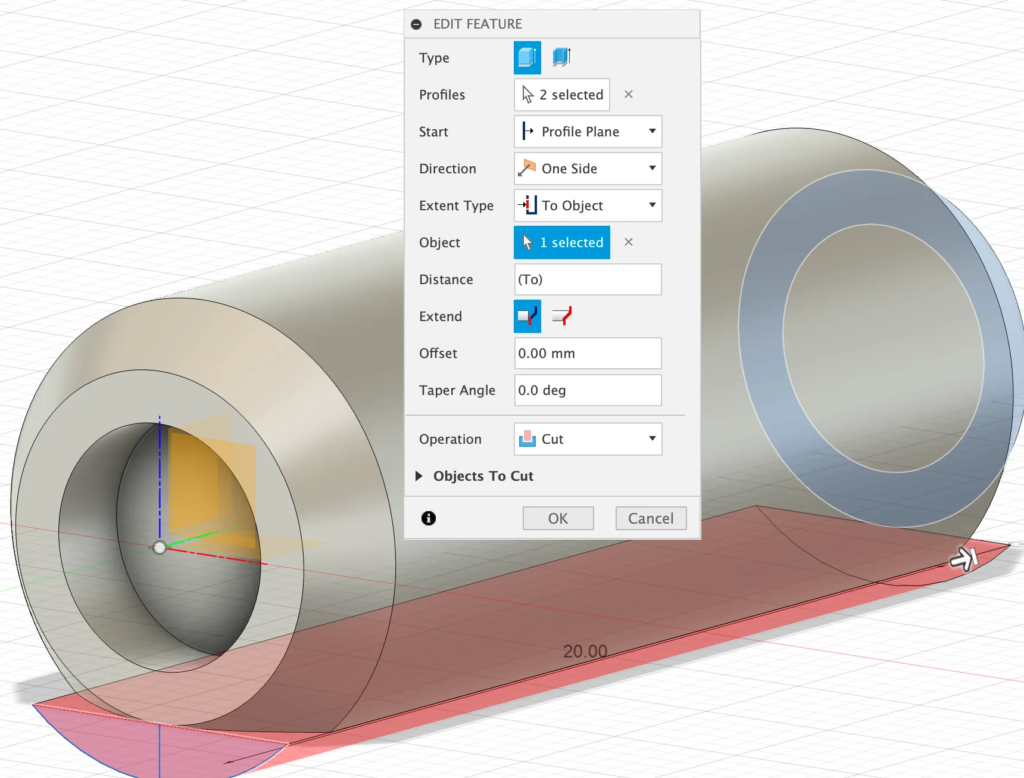
Poking the Hole
1.6 mm Deep Hole using the 4.2 mm sketch
(On both sides)
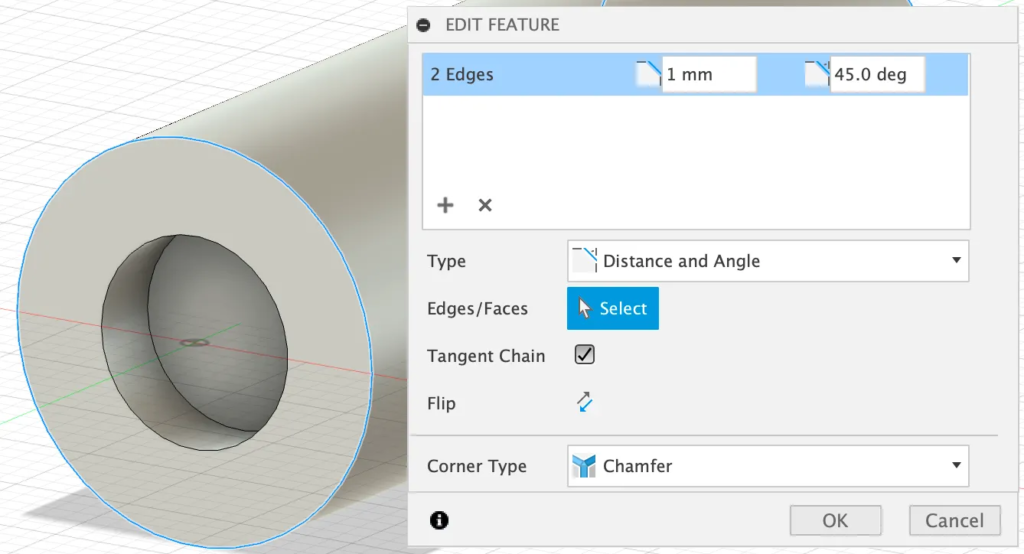
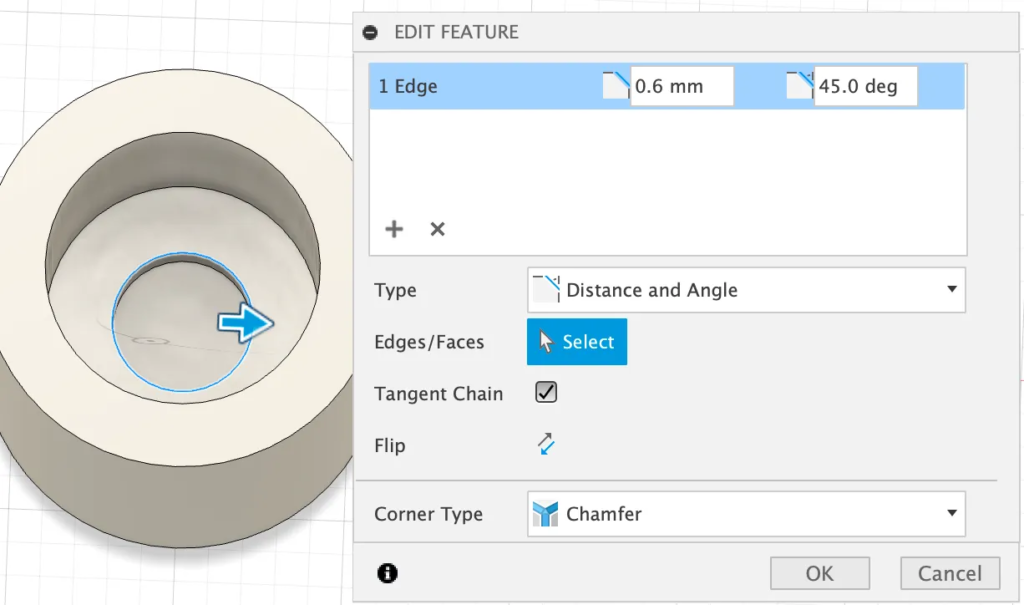
Chamfer
Adding a 1mm Chamfer 45.0 deg
(On both sides)
Cut Extrude
1 mm bottom, can be extruded to create the flat bottom
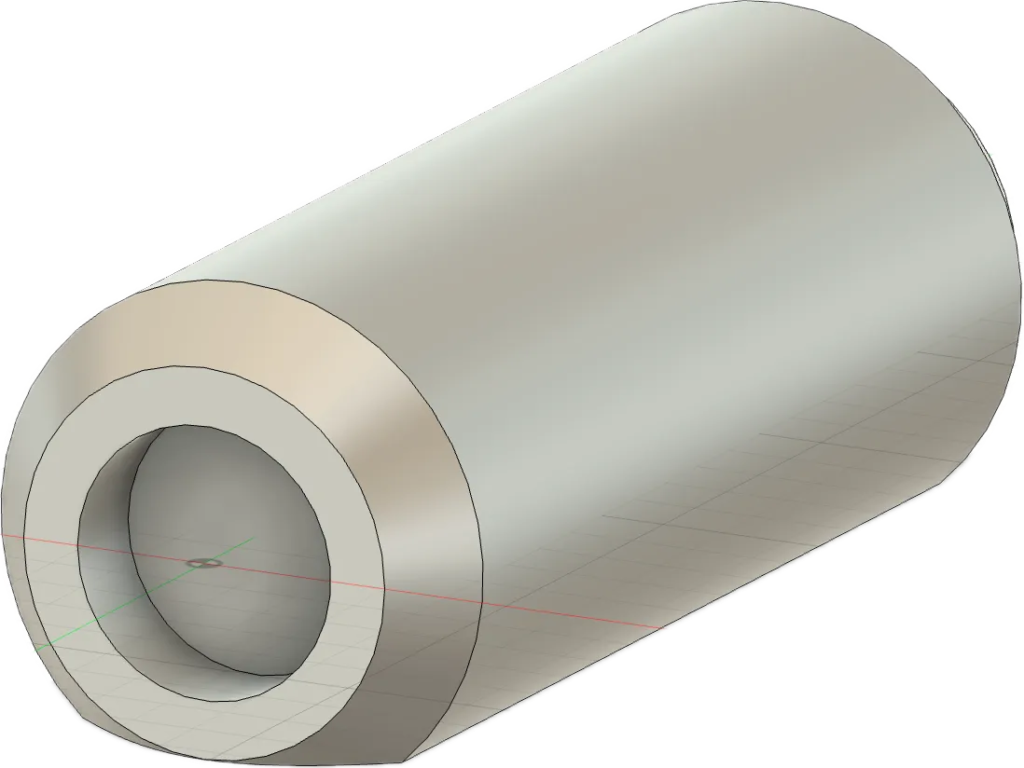
Finished
Congratulations, Pin has been created!
Hole

Digi Digi Hole
8.2 mm Hole that will fit the 8 mm Pin the 0.2 mm are for tolerance.
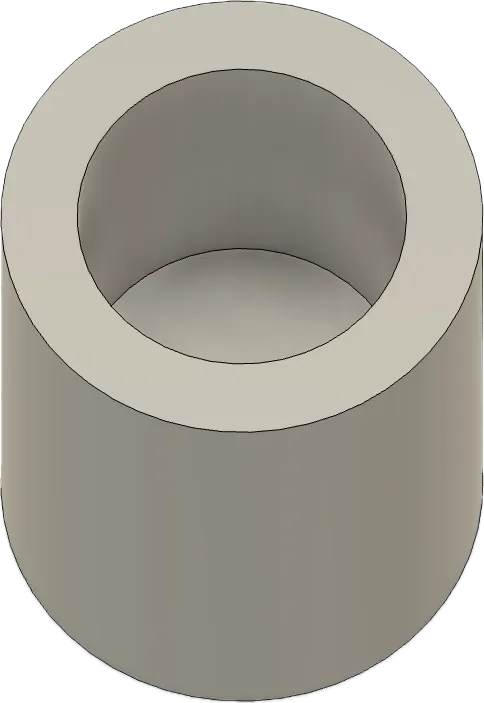
10 mm Deep
We basically need a 10 mm Hole to make the 20 mm Pin disappear
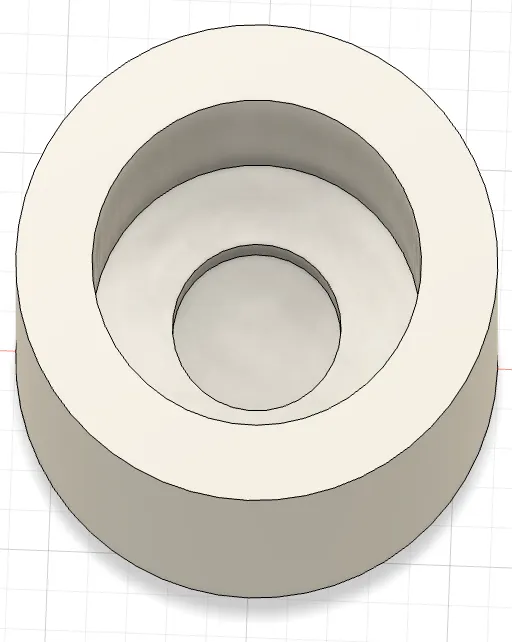
Adding Magnets
4.2 mm circle and 1.6 mm deep
Fitting the Magnets
Adding a Chamfer helps with fitting the magnets in place
Results & Application
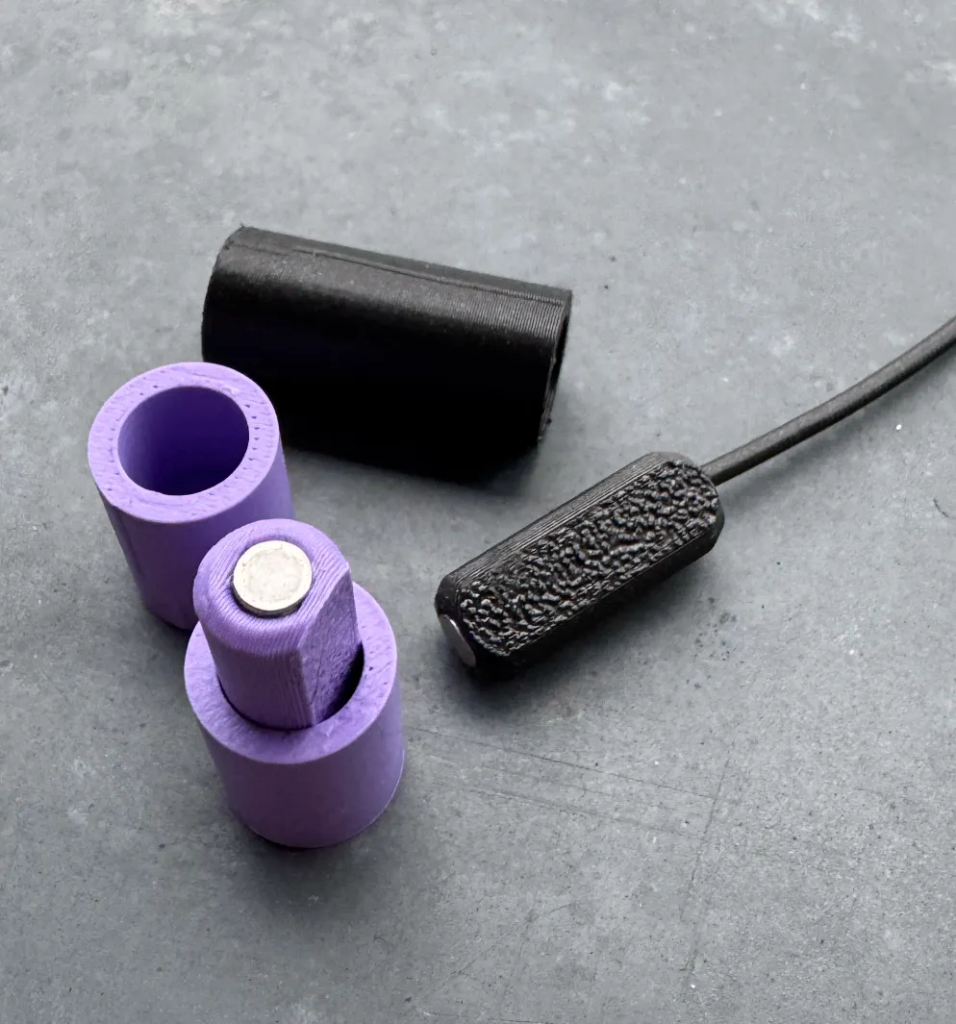
Sample Prints
The sample prints came out great. I experimented with various lengths. The magnets were glued with basic super glue. I glued some filament to the end of my tester to get it out of holes.