
40mm The threaded rail – standardized
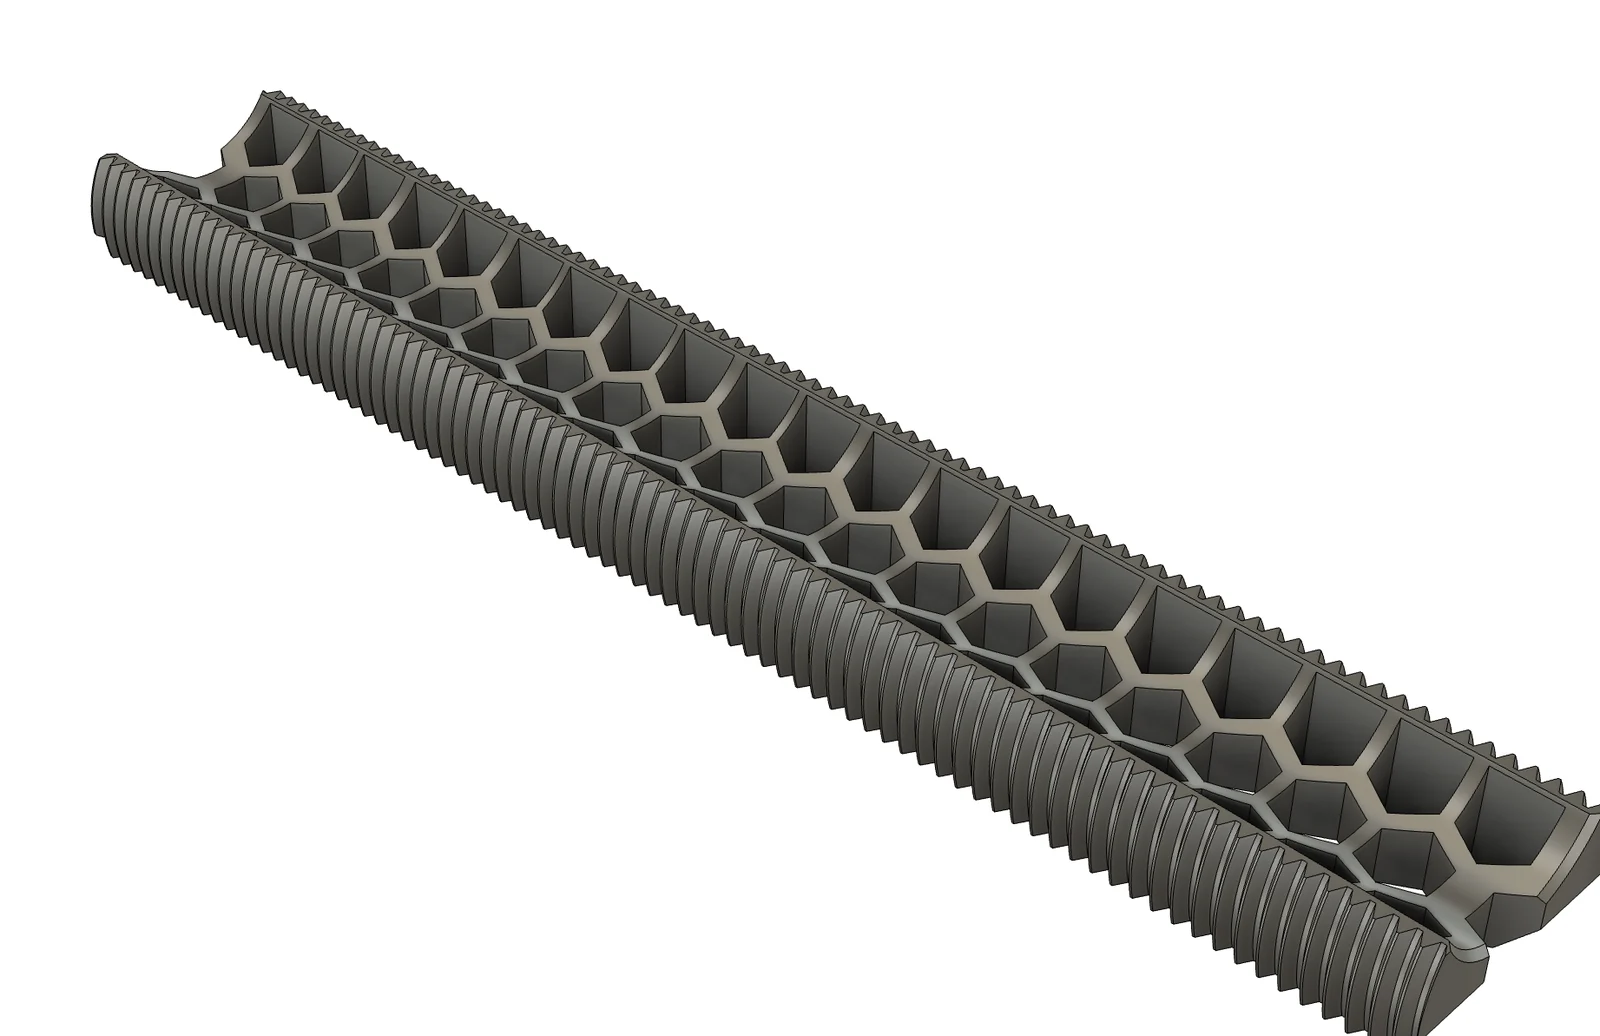
One thread, many parts. The 40 mm Standard is a rail with an M40 × 3 thread on both sides. Anything with an M40 × 3 nut thread screws onto it – a table clamp, a light mount, a holder for your earbuds, or whatever you come up with next.
It is rugged and made for the printer: flat bottom, no supports, clean threads. I designed the first accessories. For the rest, I need you.
The Standard
The rail is the heart of it all: a flat slice of an M40 × 3 threaded rod. Stick to these numbers and your part fits every rail – and every rail fits your part. All measurements in mm.
| Rail | Your part | |
|---|---|---|
| Thread | M40 × 3, outside (6g) | M40 × 3, inside (6H) |
| Print clearance | one flank offset −0.1 | one flank offset −0.1 |
| Lead-in | chamfered ends | chamfer the opening (1.5) |
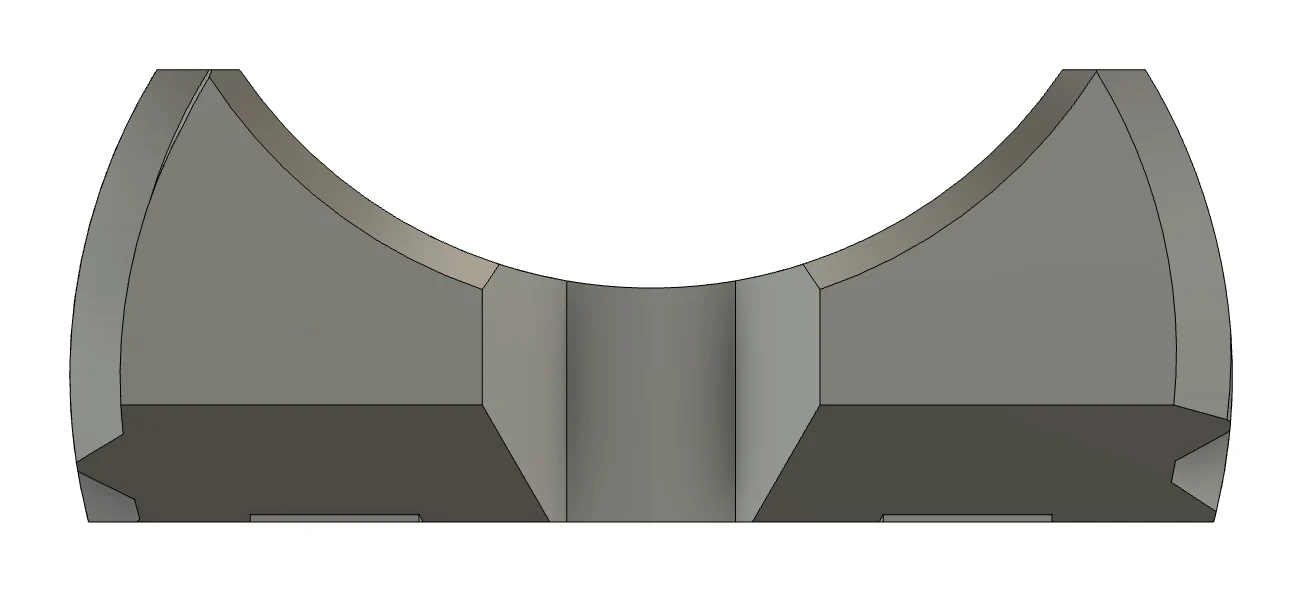
| Cross-section | 40 wide · 15.5 high · flat 5 below the axis | – |
| Cradle | R17 on top | – |
| Lengths | 102 · 162 · 246 (12 · n + 6, n = honeycomb cells per row) | – |
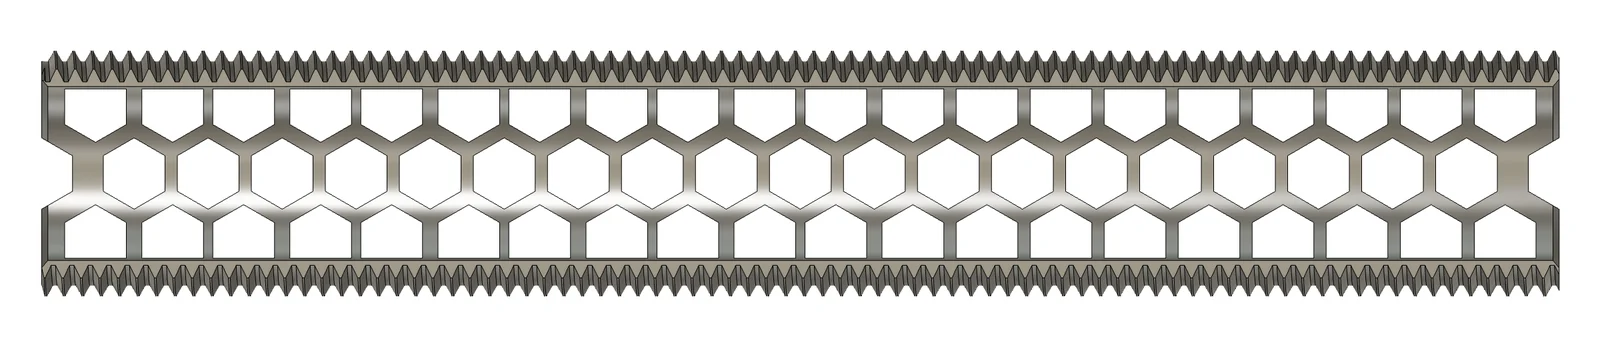
| Honeycomb | hex 10 across flats · 12 pitch · 3 rows | – |
Files
The main rail is on Printables. Download it, print it, build on it – and post your make there.
Rugged & made to print
A shape that suits a 3D printer.
Prints flat
The rail lies on its flat bottom, 5 mm below the thread axis. No supports, nothing hanging in the air. The longest version, 246 mm, fits a 256 mm bed.
Threads that stand up
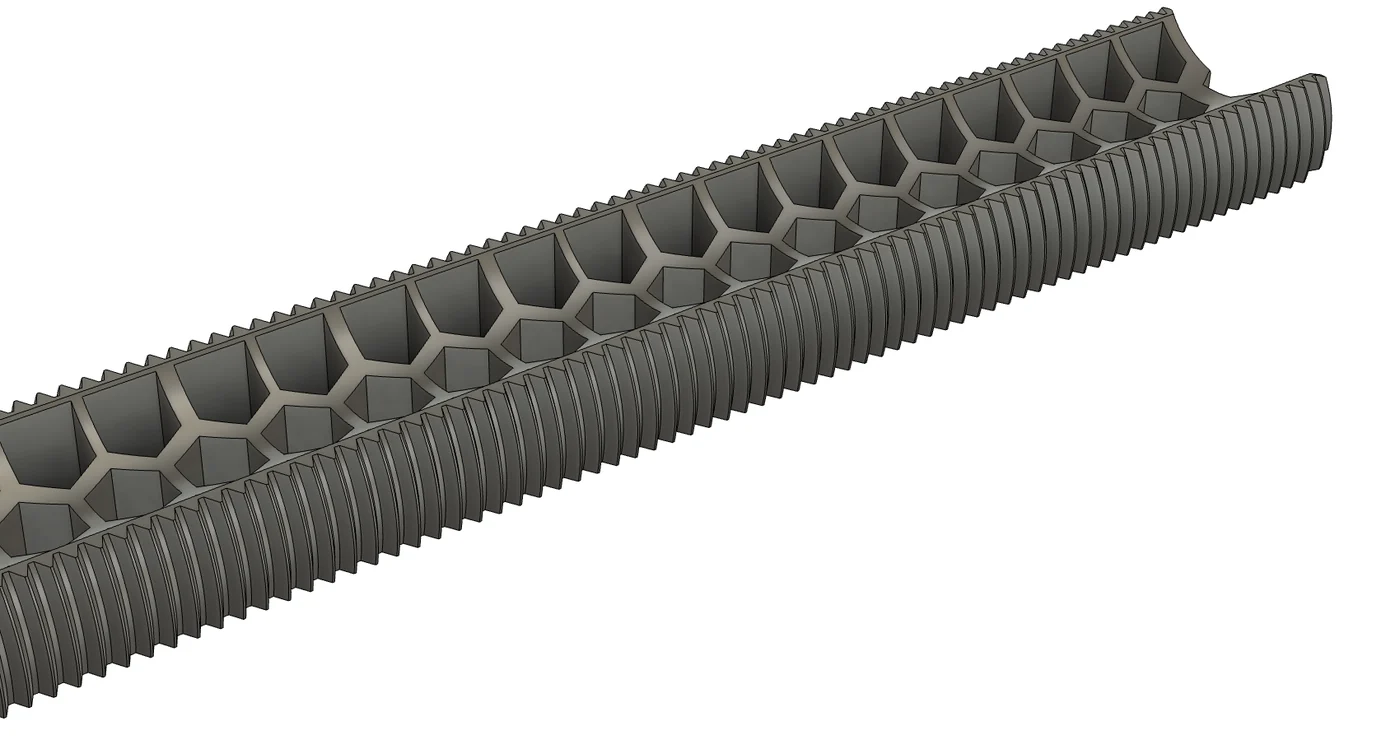
Lying flat, the thread ridges stand straight up from the bed. Every layer traces the full tooth profile, so the thread comes out clean and solid instead of as a staircase of layer lines.
Honeycomb floor
Hex pockets run through the floor: 10 mm across flats, 12 mm apart, three rows. Less filament and print time, while the ribs keep the rail stiff.
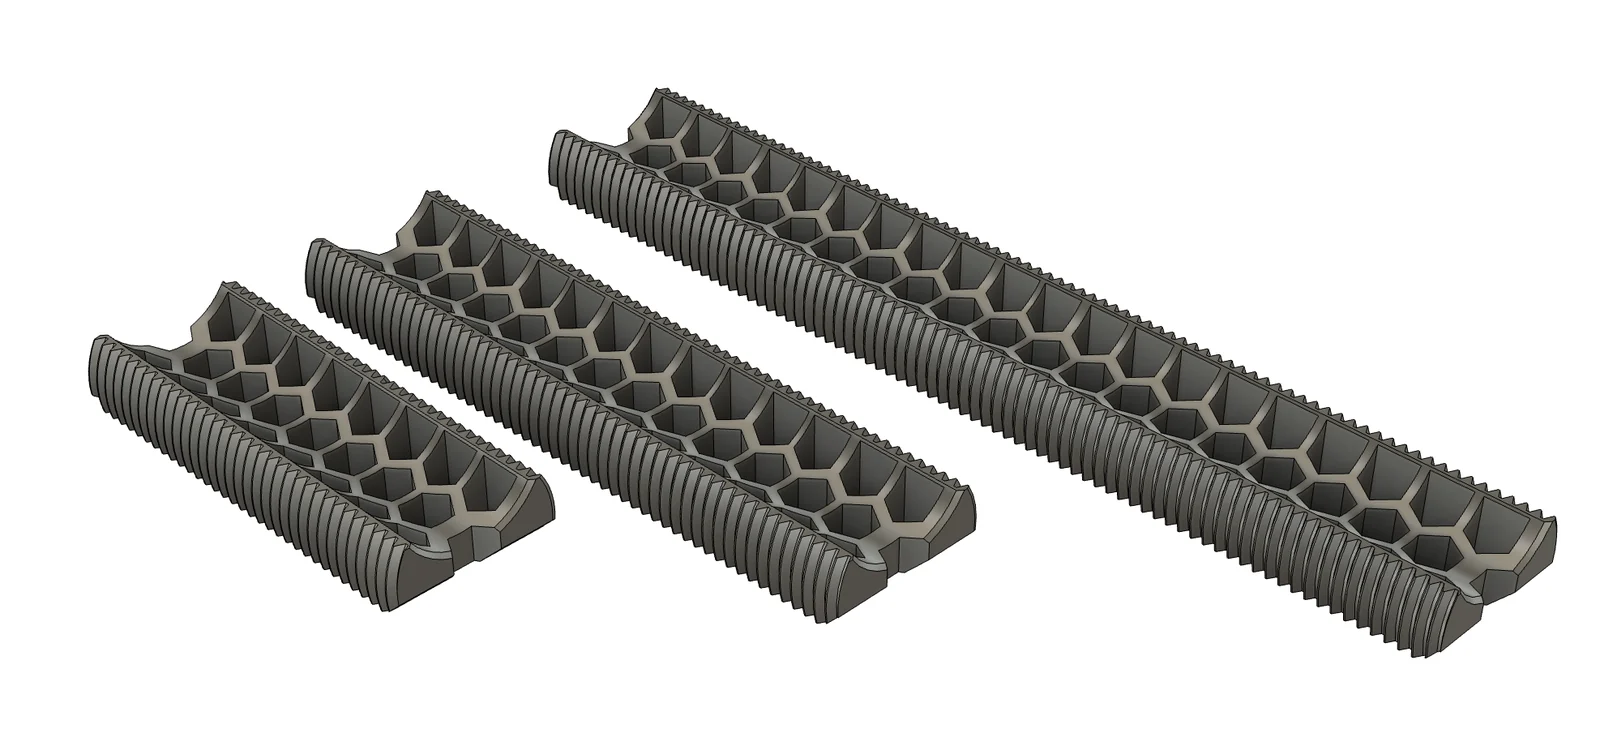
Three lengths
102, 162 and 246 mm. Every length follows 12 · n + 6: n is the number of honeycomb cells along the rail – one every 12 mm – and the extra 6 mm close off both ends, 3 mm each. So 246 = 12 · 20 + 6.
First accessories
Some parts I designed to put the rail to work. Each one screws on with the same M40 × 3 thread.
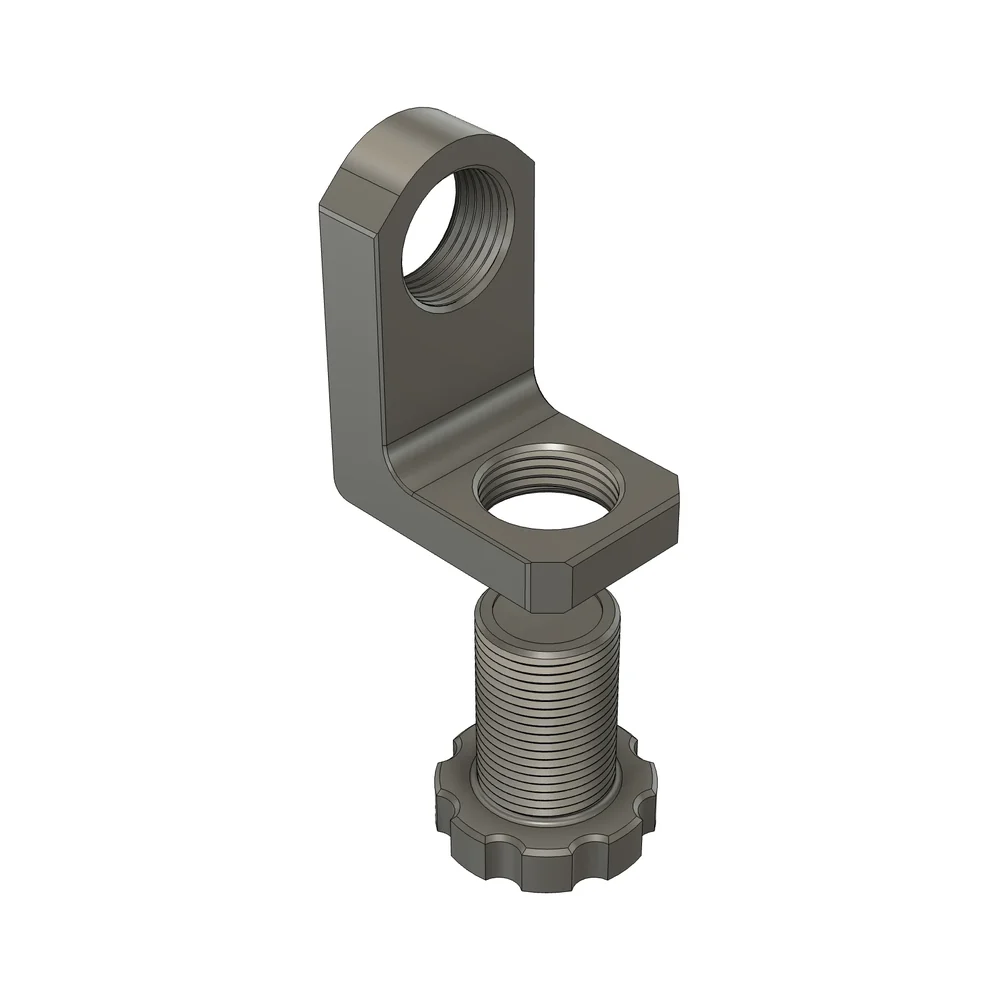
Table clamp
Holds the rail at the edge of a table. The clamping screw is an M40 part too – one thread for everything.
M40 ring · M40 clamping screw
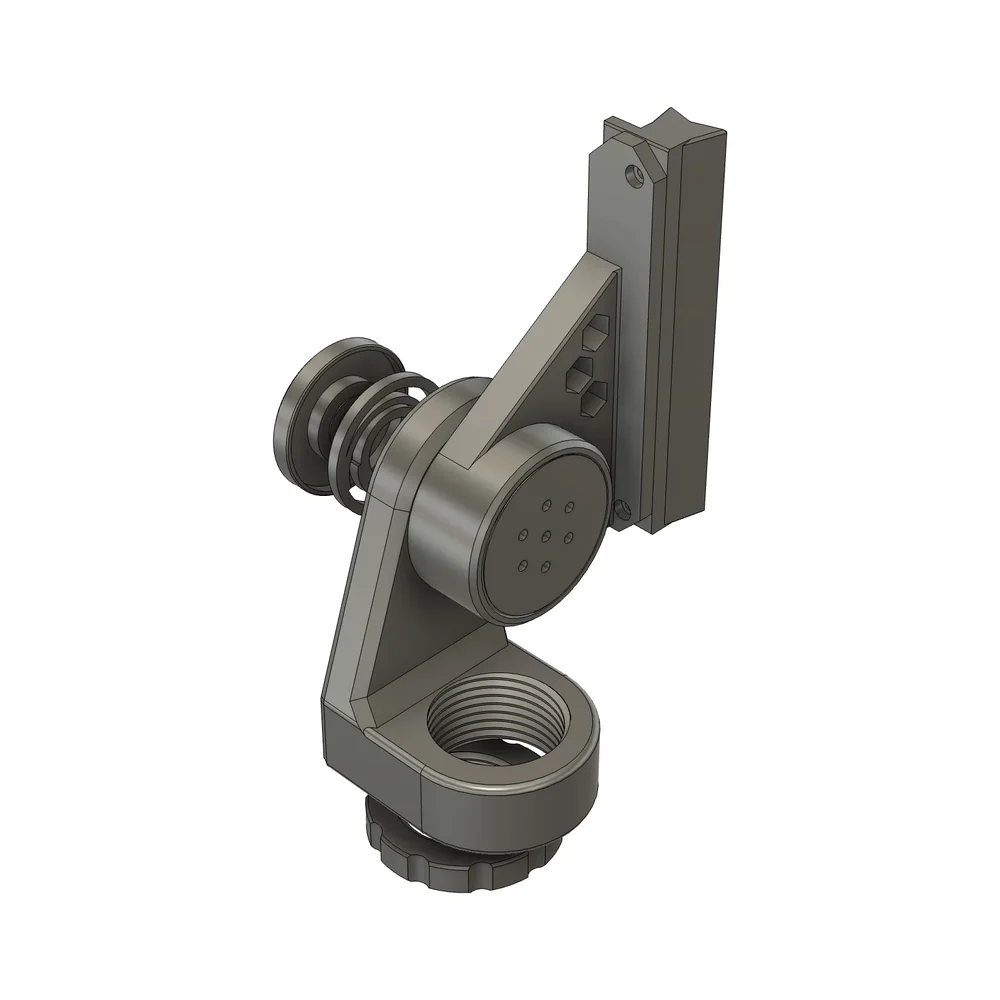
Light mount
Screws onto the rail with an M40 base. A tilting arm with a spring lock and a dovetail rail holds a Hue Play light bar.
M40 base · tilt with lock · dovetail
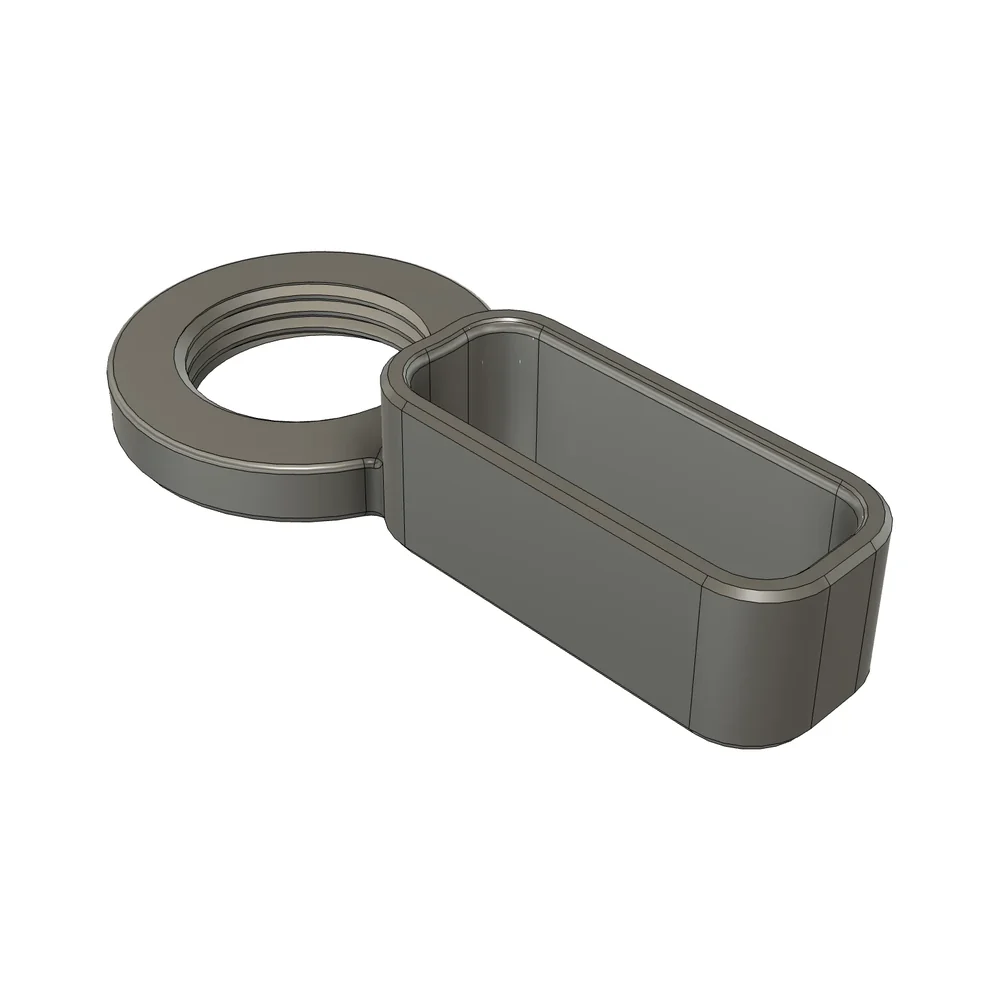
AirPods holder
An M40 ring with a pocket for the case. Screw it on, drop the case in, done.
M40 ring · case pocket
Open
Your idea
Cable guide, headphone hook, phone stand, cup holder …
Design your own accessory
Five rules and your part fits every 40 mm rail.
- Thread: M40 × 3 inside, class 6H
- Clearance: offset one flank of the thread by
−0.1 mm. - Wall: leave enough material around the thread. My parts use about
8 mm(56 mm outside). But also do what you must. - Name it: call it “40 mm Standard” so others find the accessory.
In Fusion
Create → Thread on the hole: ISO Metric, 40 × 3, class 6H, Modeled ticked.
Then Modify → Offset Face on one flank of the thread: −0.1 mm.
Help me improve it
A standard is only as good as the people who use it. These are the open questions – adjust, optimize, break it, and tell me what you find. Good ideas go into the standard – with your name in the version list.
- On and off faster. Parts screw on from the end of the rail. Is there a smart way to clip one on from the side?
- Longer runs. How should two rails join end to end without losing the thread?
- Your accessory. What would you put on it? Sketches welcome.
Versions & credits
Every change to the standard gets a version number – and the name of the person who brought it in.
| Version | Change | Details | Credit |
|---|---|---|---|
| 1.0 | First release | Main rail with an M40 × 3 thread on both sides and −0.1 mm flank clearance, flat bottom, R17 cradle and honeycomb floor. Lengths 102, 162 and 246 mm. First accessories: table clamp, light mount, AirPods holder. | Tom (YEZT) |
Let’s make it a standard.
Print it, use it, improve it.