
PIN Pin & Hole – standardized
I was looking for a pin design that can be applied to many situations. Sturdy, easy to print and quick to add to any model – a pin that checks many boxes.
Below you will find the measurements of the standard and, step by step, how to build the pin and the matching hole yourself in Fusion. If you have any improvements you can always let me know!
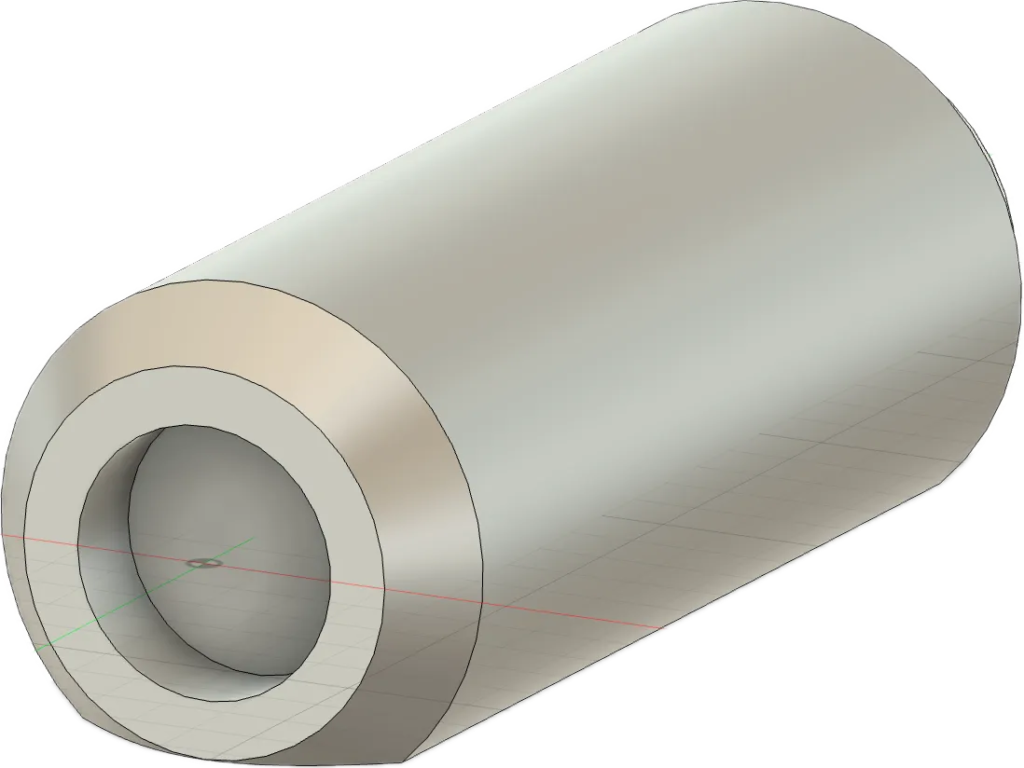
The Standard
Stick to these numbers and your pins and holes will fit everybody else’s. All measurements in mm.
| Pin | Hole | |
|---|---|---|
| Diameter | 8.0 | 8.2 (0.2 tolerance) |
| Length / depth | 20 | 10 |
| Chamfer | 1 × 45°, both ends | small chamfer at the magnet pocket |
| Flat bottom | 1 (for flat printing) | – |
| Magnet pocket | Ø 4.2 × 1.6, both ends | Ø 4.2 × 1.6, at the bottom |
| Magnets (optional) | 4.20 × 1.60 | 4.20 × 1.60 |
Build the Pin
Open Fusion and start a new design. Six steps, one sketch – let’s go.
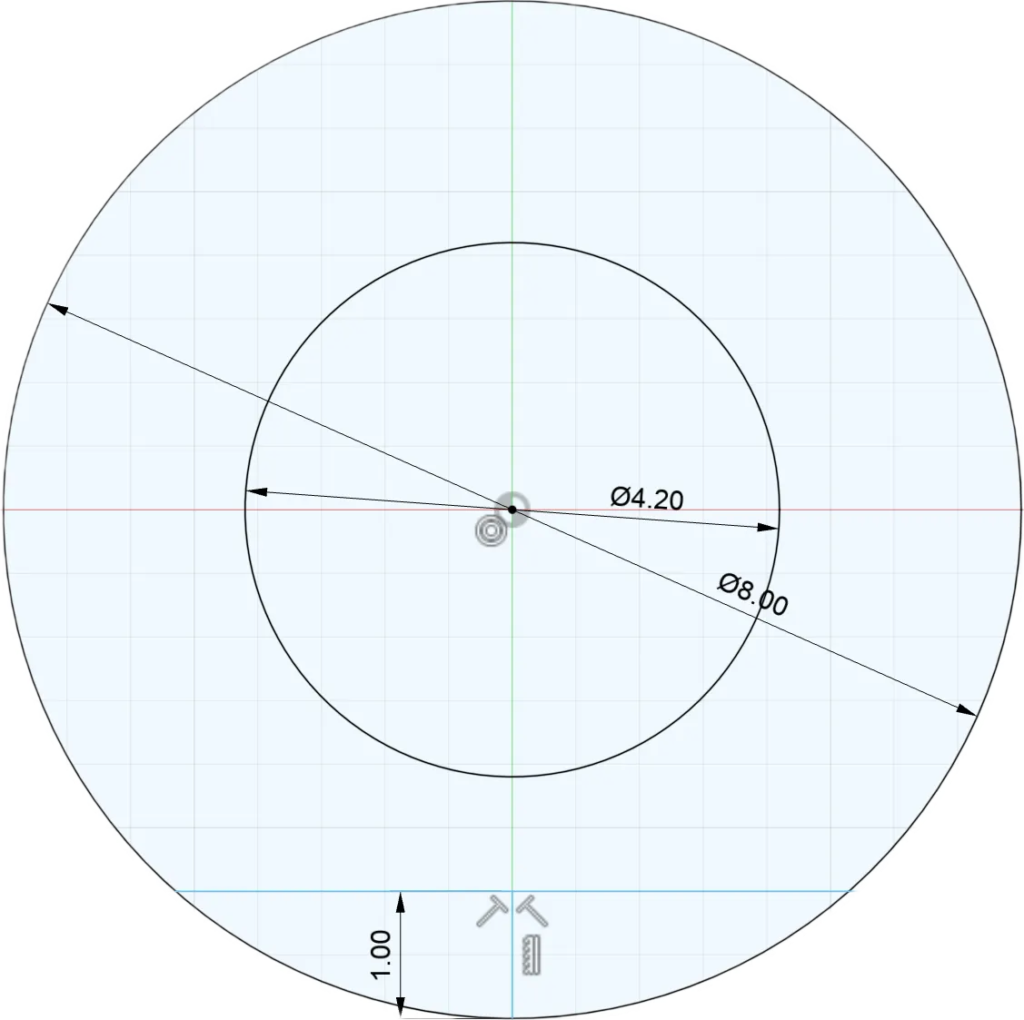
Base Design
Create a sketch on the XY plane and draw:
- an
8 mmcircle – that’s the pin - a
4.2 mmcircle in the center – room for the magnet (0.2 mm of it is tolerance) - a line
1 mmabove the bottom of the circle – this becomes the flat bottom, so the pin can be printed lying flat
Shortcuts: C circle, L line, D dimension.
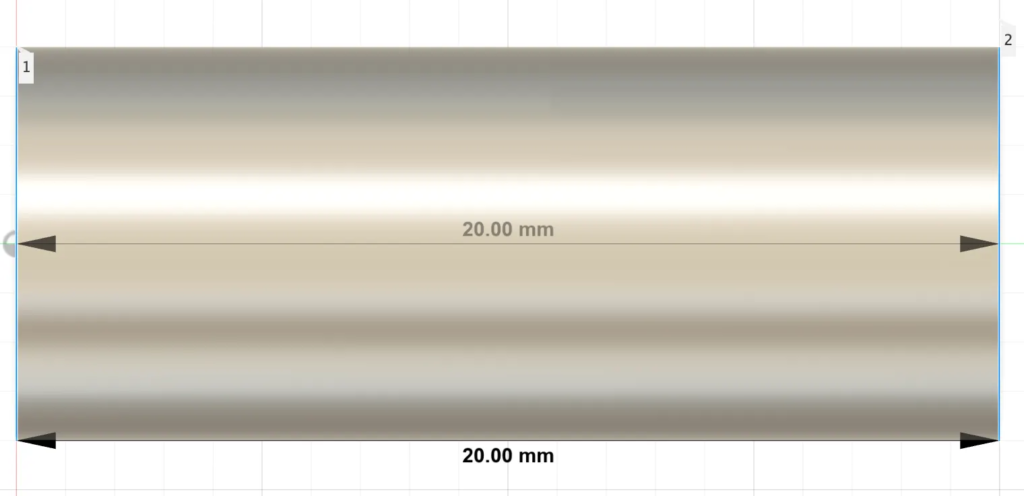
Extrude
Select all areas of the sketch and extrude them 20 mm (E).
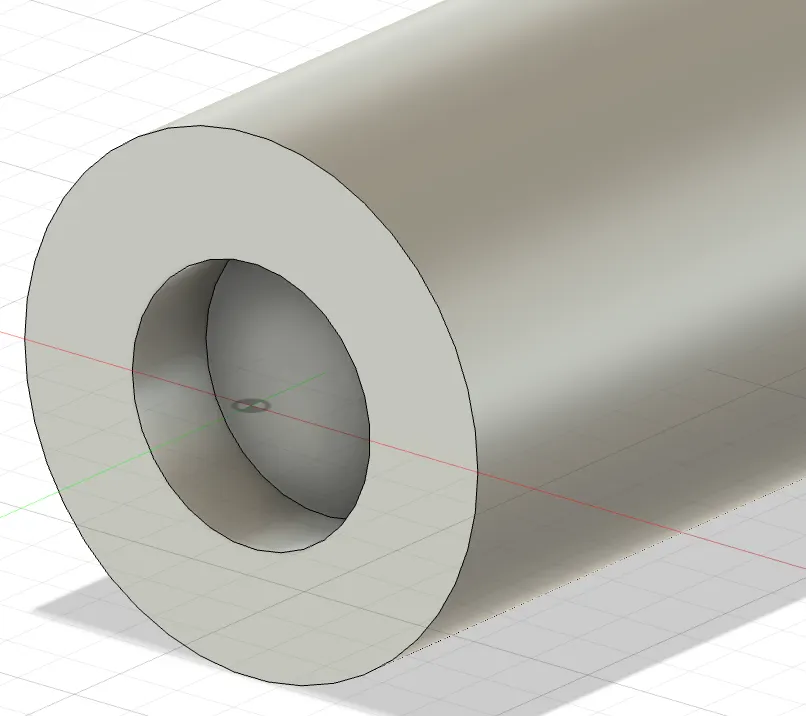
Poking the Hole
Use the 4.2 mm circle to cut a 1.6 mm deep hole into the end face (Extrude → Cut).
Same on the other side: sketch a 4.2 mm circle on the second end face and cut it 1.6 mm deep as well.
Chamfer
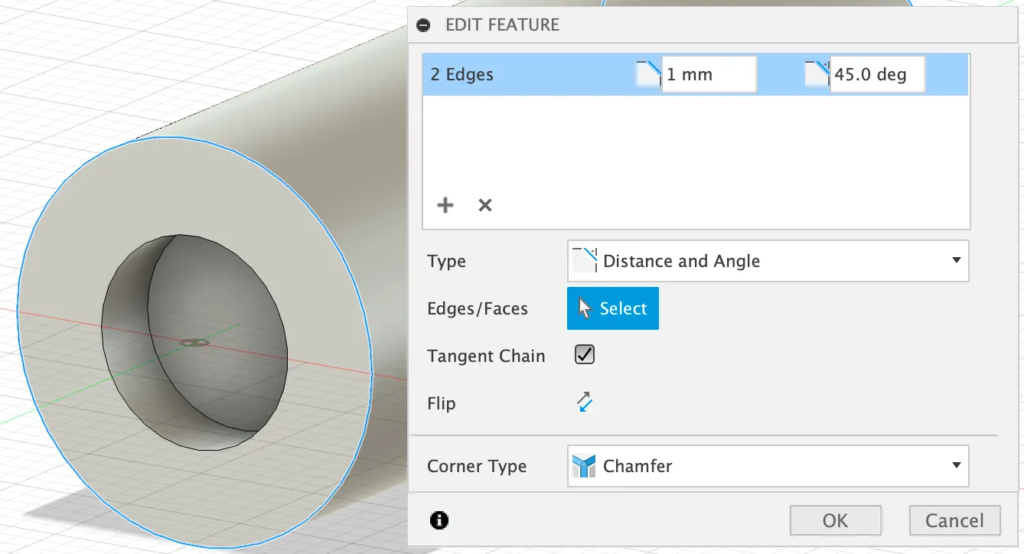
Modify → Chamfer: 1 mm at 45° on the round edges of both ends. This way the pin slides into the hole without a fight.
Cut Extrude
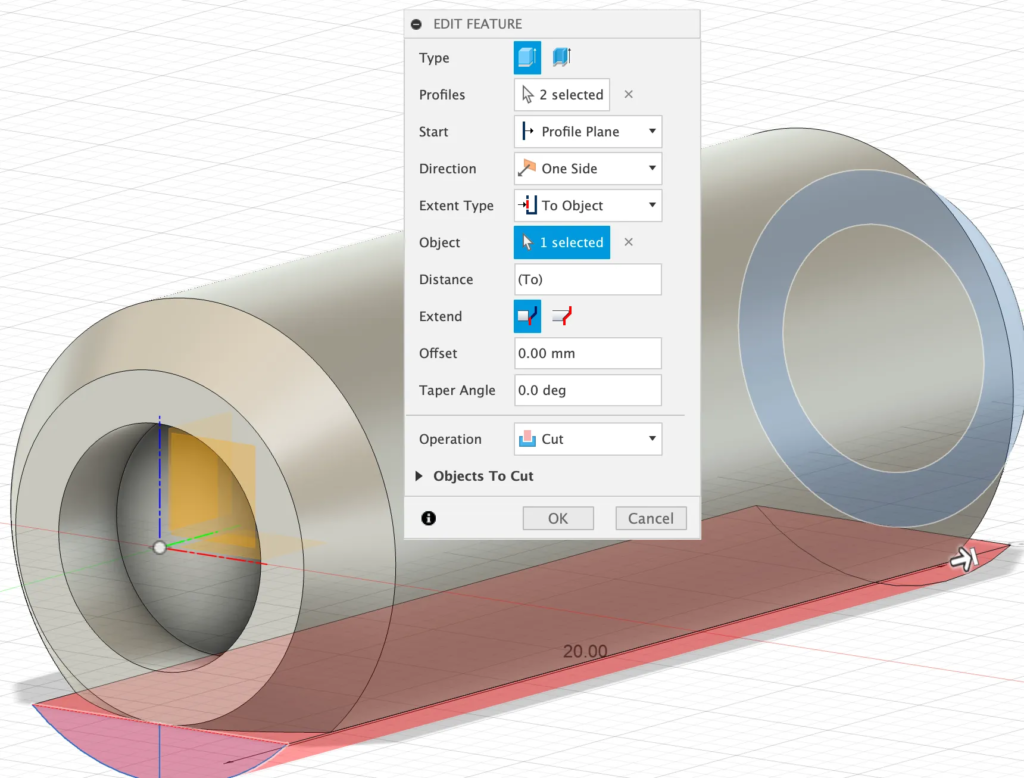
Remember the 1 mm line from step 1? Select the small area below it and cut it away along the whole pin (Extrude → Cut, through all). Now the pin has a flat bottom and prints lying flat.
Finished
Congratulations, Pin has been created!
Right-click the body → Save As Mesh to export the STL for your slicer.
Build the Hole
The hole goes into your own model. Four steps.
Digi Digi Hole
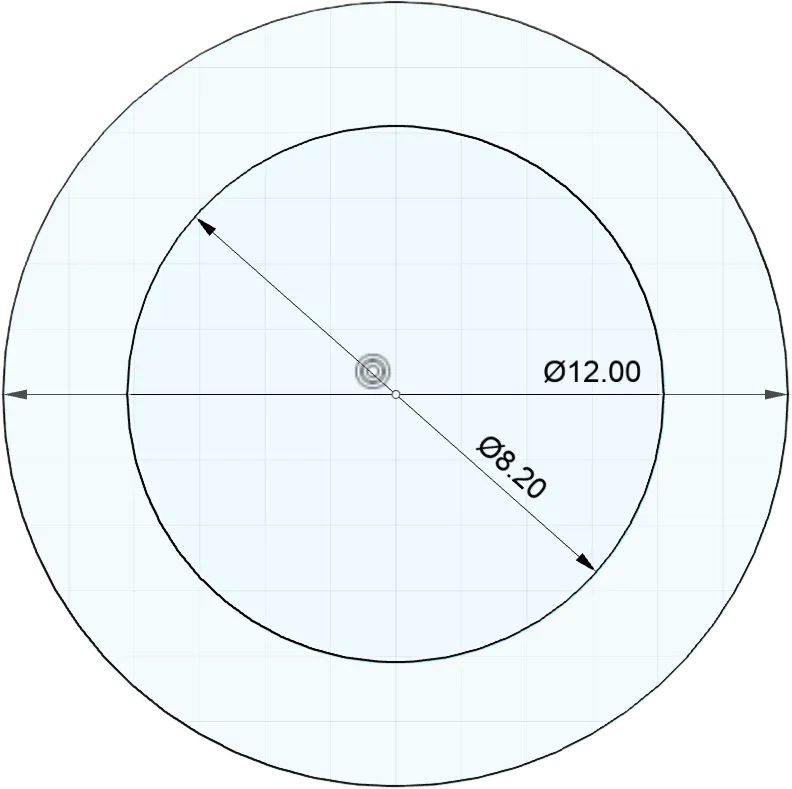
Sketch an 8.2 mm circle on the face where the pin should go. The pin is 8 mm, the extra 0.2 mm are tolerance.
10 mm Deep
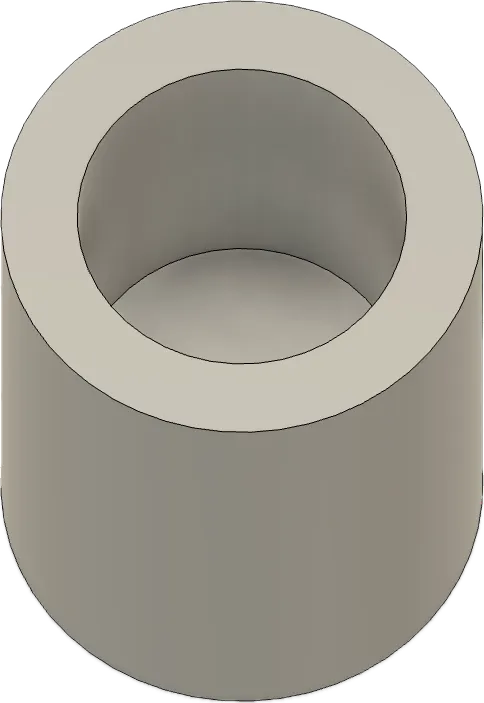
Cut the circle 10 mm deep. Half of the pin goes into this part, the other half into the second part – together the 20 mm pin disappears completely.
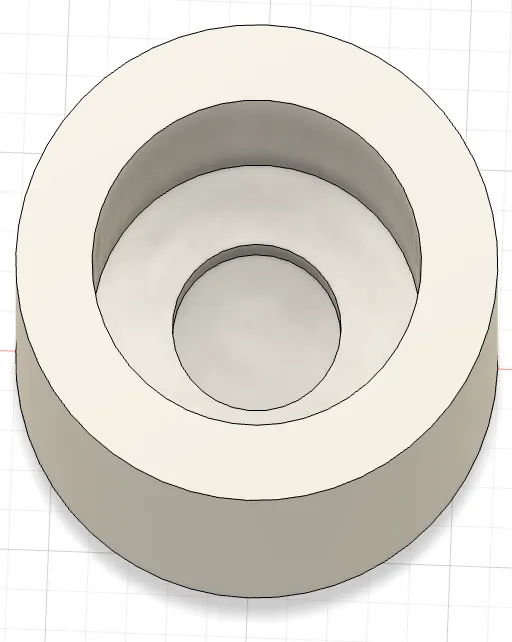
Adding Magnets
At the bottom of the hole: a 4.2 mm circle, cut 1.6 mm deep.
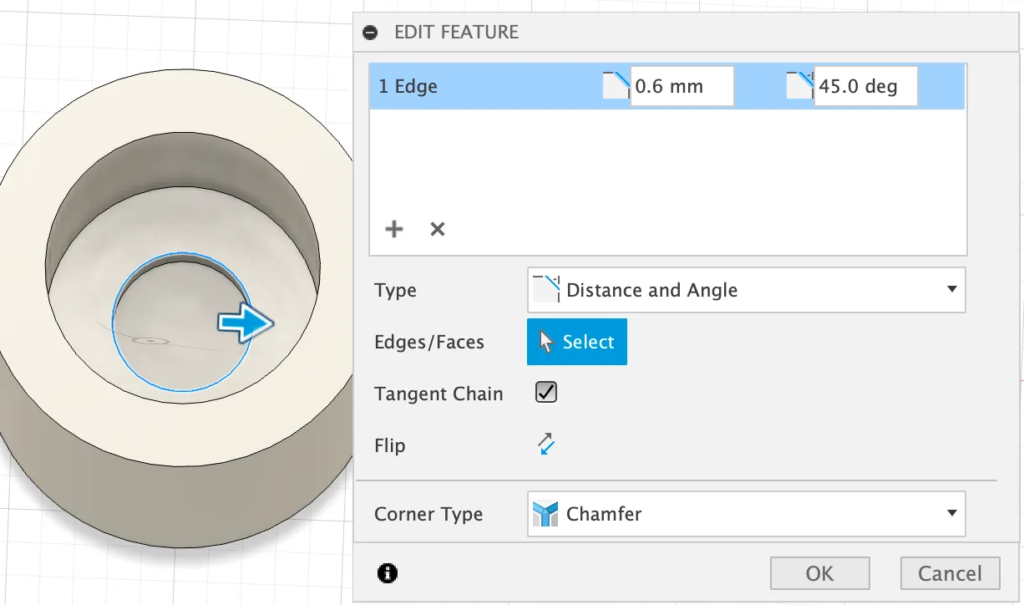
Fitting the Magnets
Adding a small chamfer to the edge of the magnet pocket helps with fitting the magnets in place.
Shortcut: the negative STL
No time for modelling? On Printables you will find three STL files: the hole, the pin and a negative. Load the negative into your slicer as a negative part and subtract it from an existing model – instant pin hole.
Results & Application
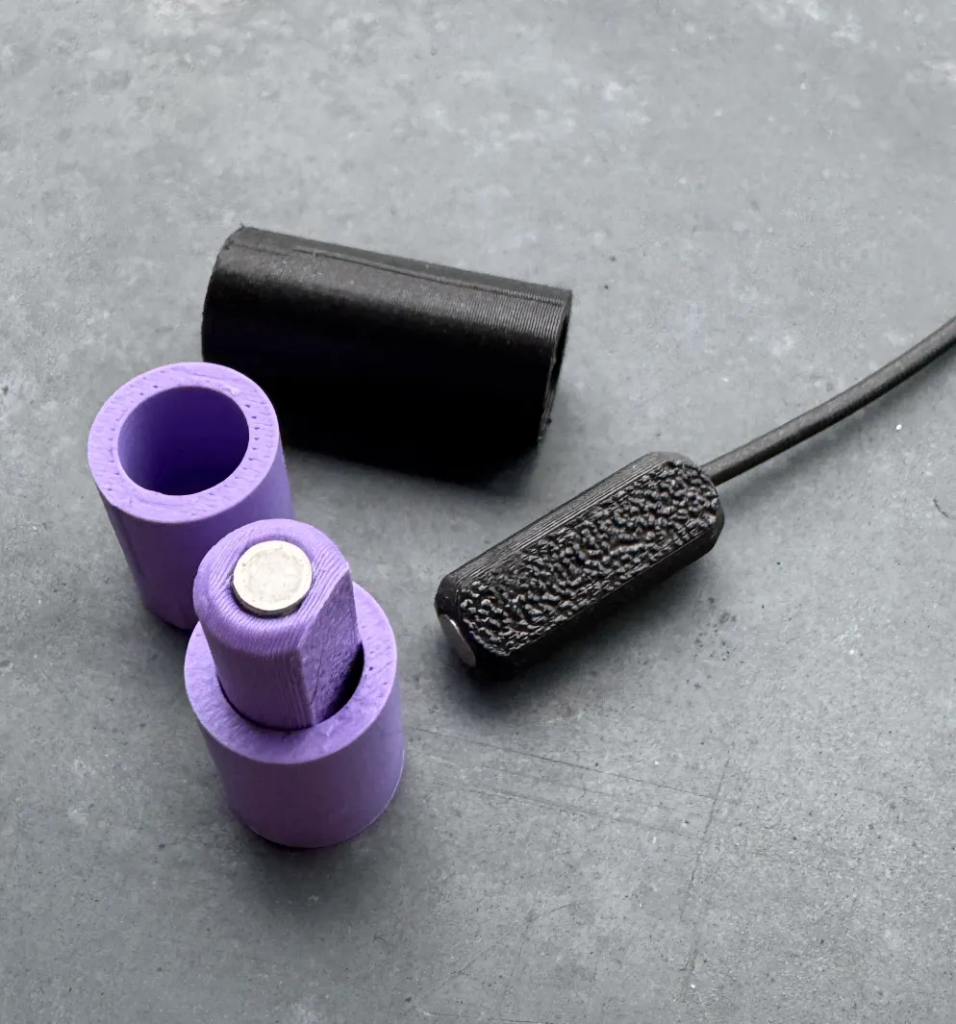
Sample Prints
The sample prints came out great. I experimented with various lengths. The magnets were glued in with basic super glue, and I glued some filament to the end of my tester to get it out of the holes again.
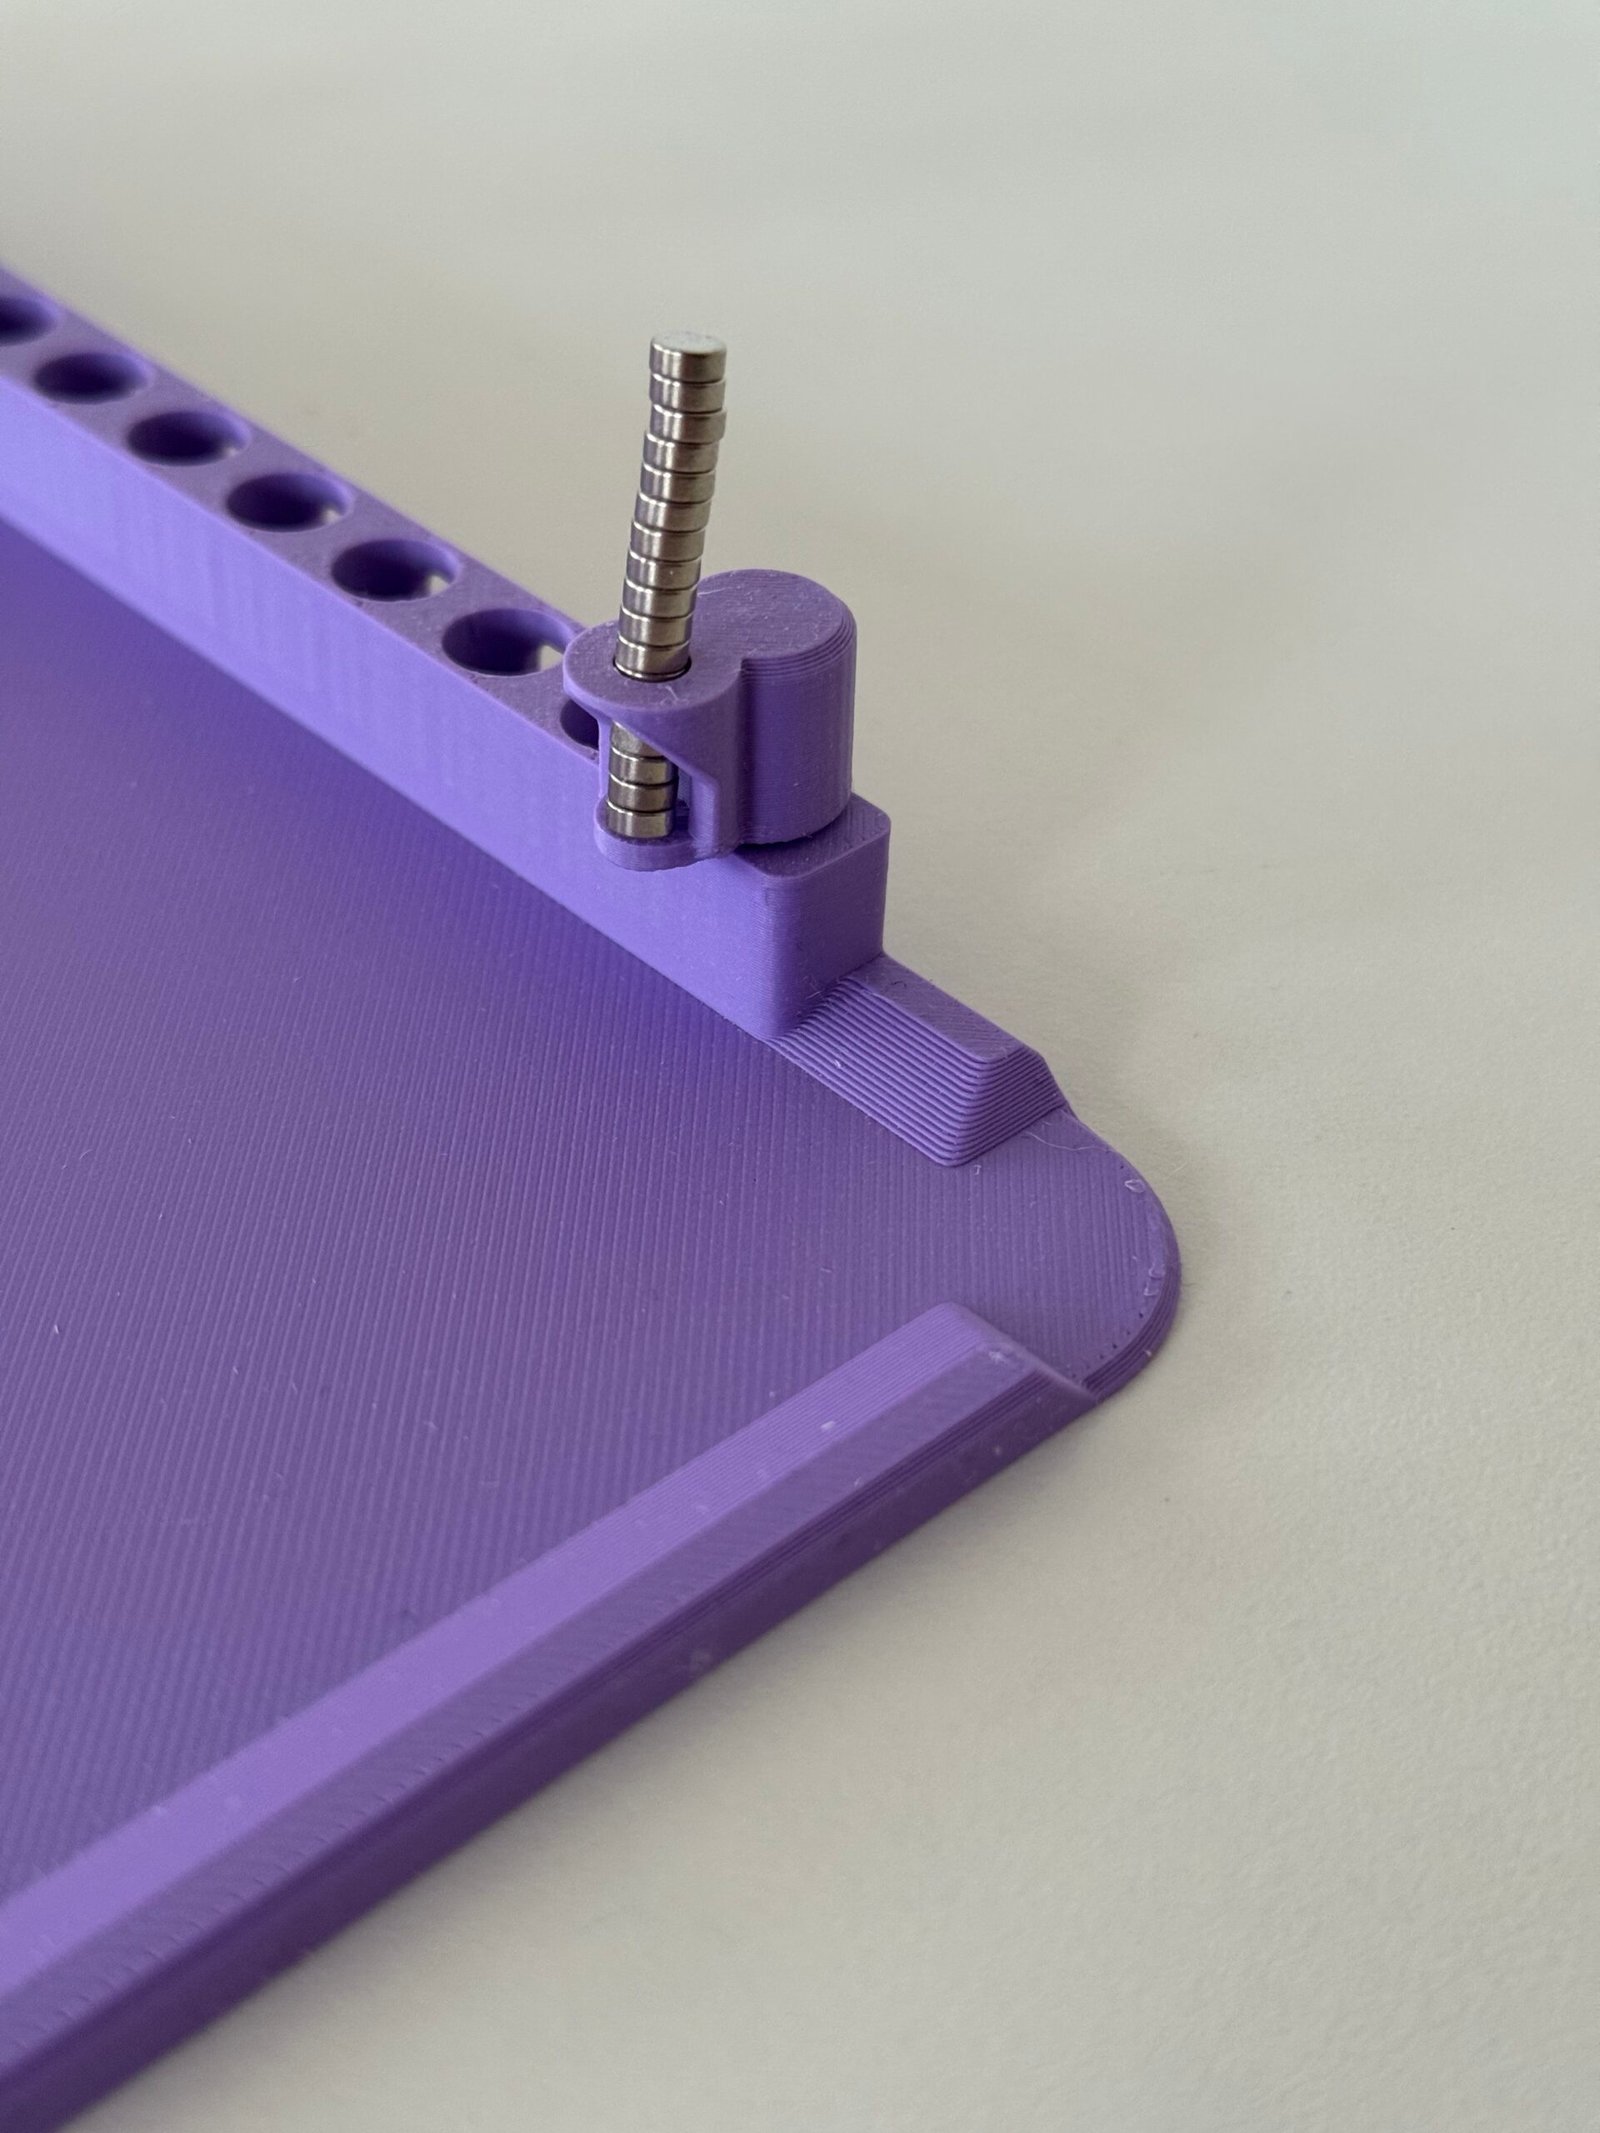
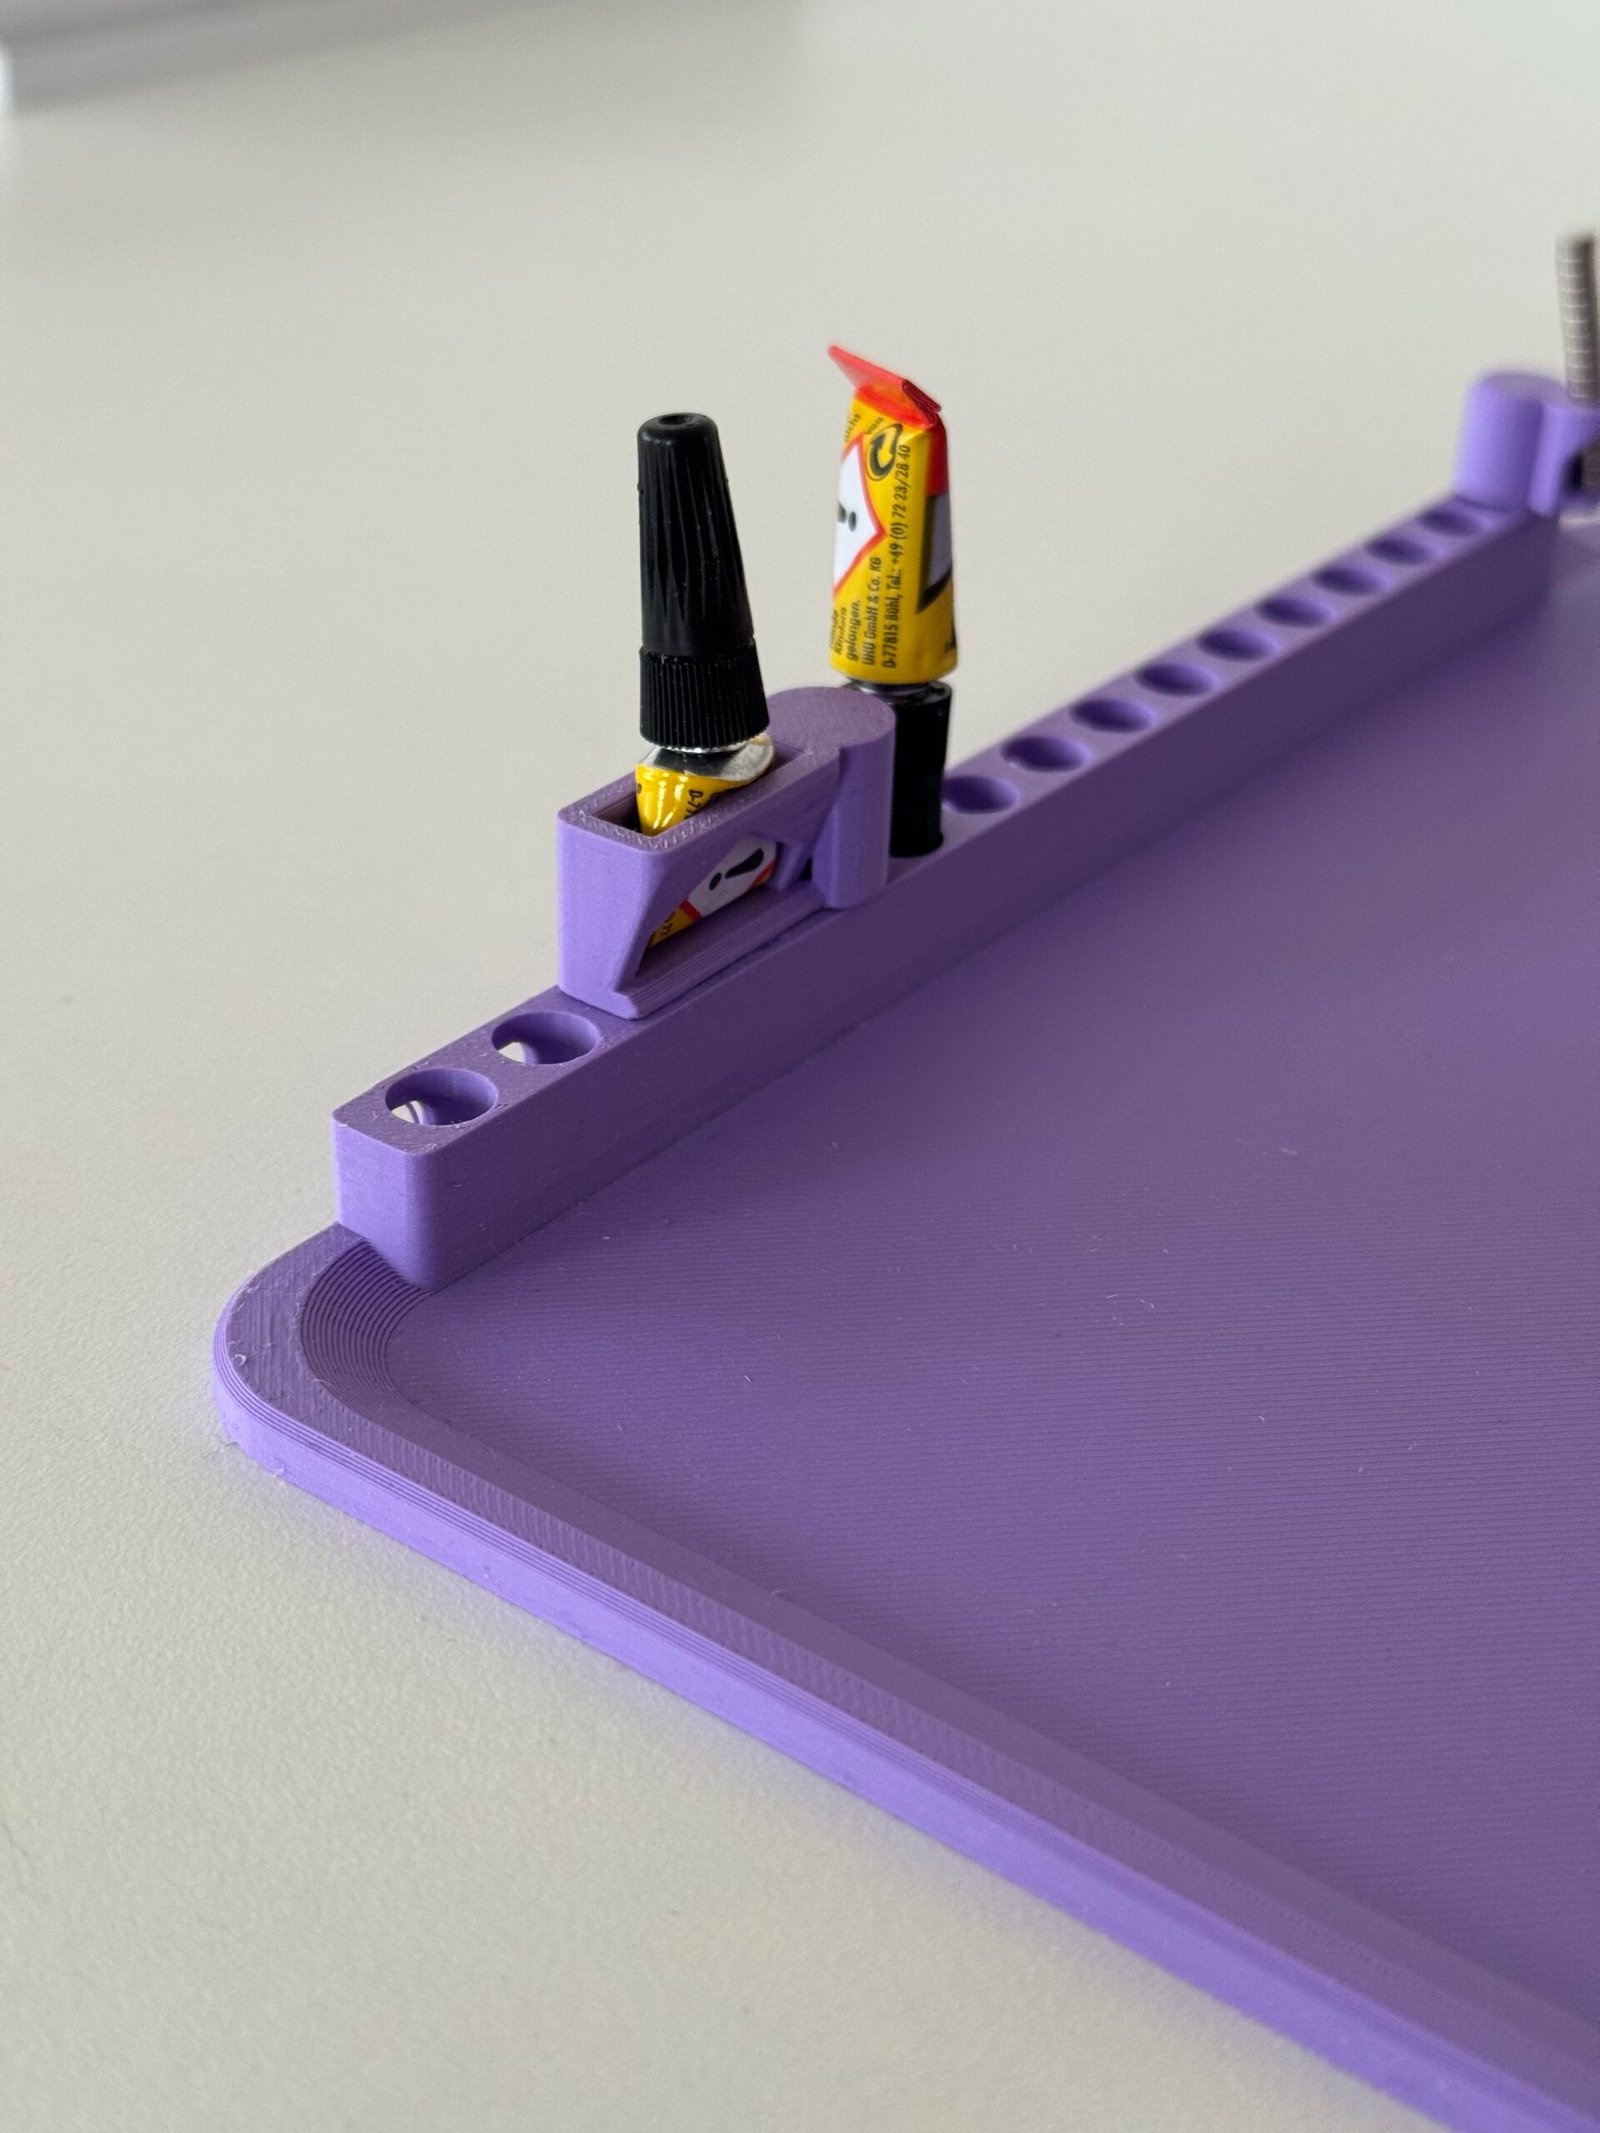
Work-Mat
Finish your 3D prints off in style, while protecting your table from glue etc. The Work-Mat uses the same pin holes.
Improvements?
If you have any improvements you can always let me know!